Accessing the Floor Plans List Screen
To view the floor plans registered in the system, access it via the side menu under the option: Floor Plan.
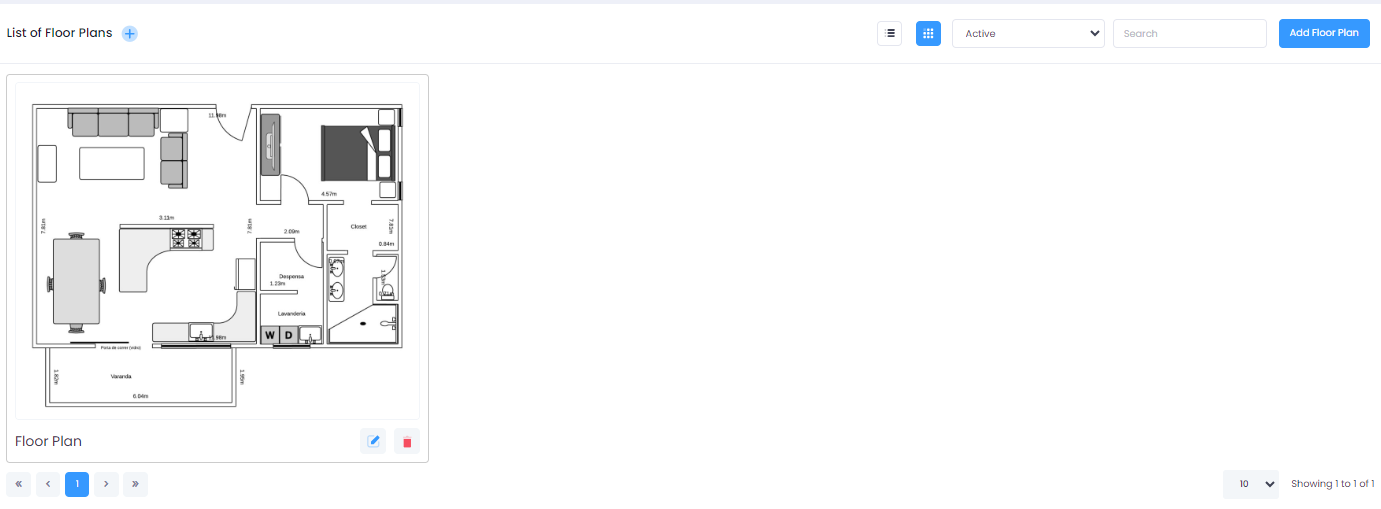
Filtering Floor Plans
Use the Active filter located at the top of the screen to filter floor plans. The available options are:
-
All: Shows all registered floor plans.
-
Active: Lists only the floor plans that are active.
-
Inactive: Displays the floor plans that have been deactivated.
Searching and Displaying Floor Plans
In the Search field, type part of the floor plan name you want to find. The results matching your search will automatically be displayed in the list.
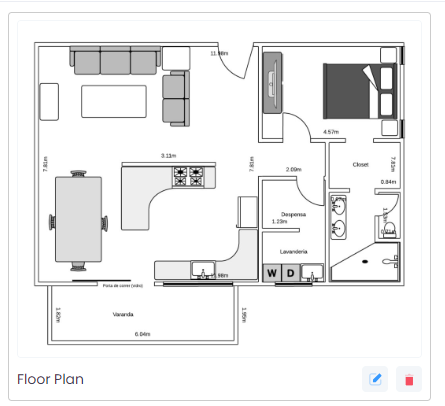
You can choose the display mode for the registered floor plans between grid or list by clicking the buttons next to the filter:

The first button displays the floor plans as a list, while the second displays them in a grid format.
Adding a New Floor Plan
To add a new floor plan, you can:
- Click the Add Floor Plan button.
- Or click the + (plus) icon located in the header of the screen.

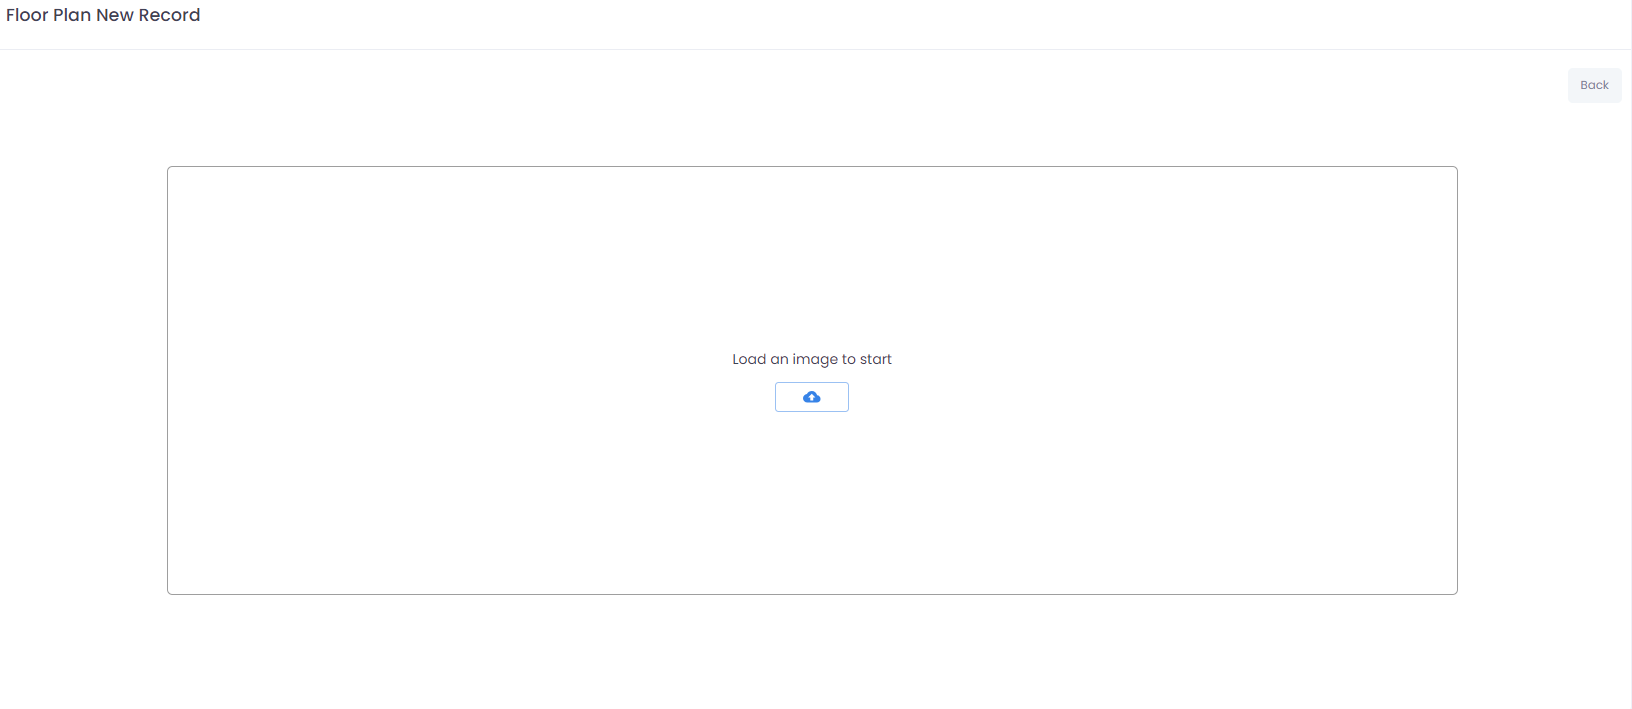
The first step in registering a new floor plan is to upload the floor plan image. To do this, simply click on the "Upload an image to get started" icon on the screen.
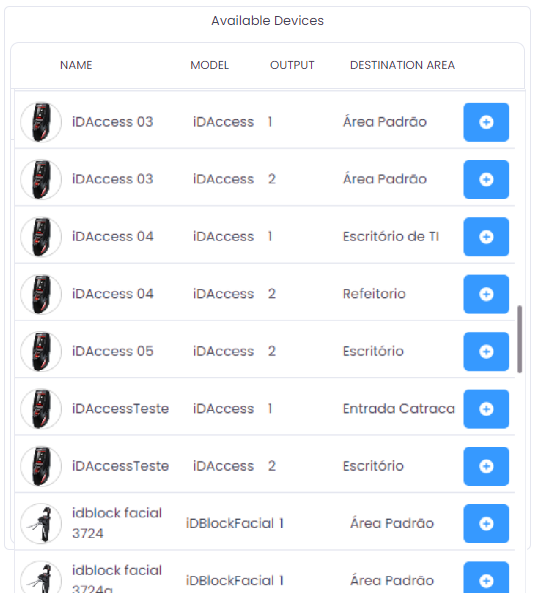
After adding an image, you must fill in the description field. If desired, you can also place devices in specific areas of the floor plan.
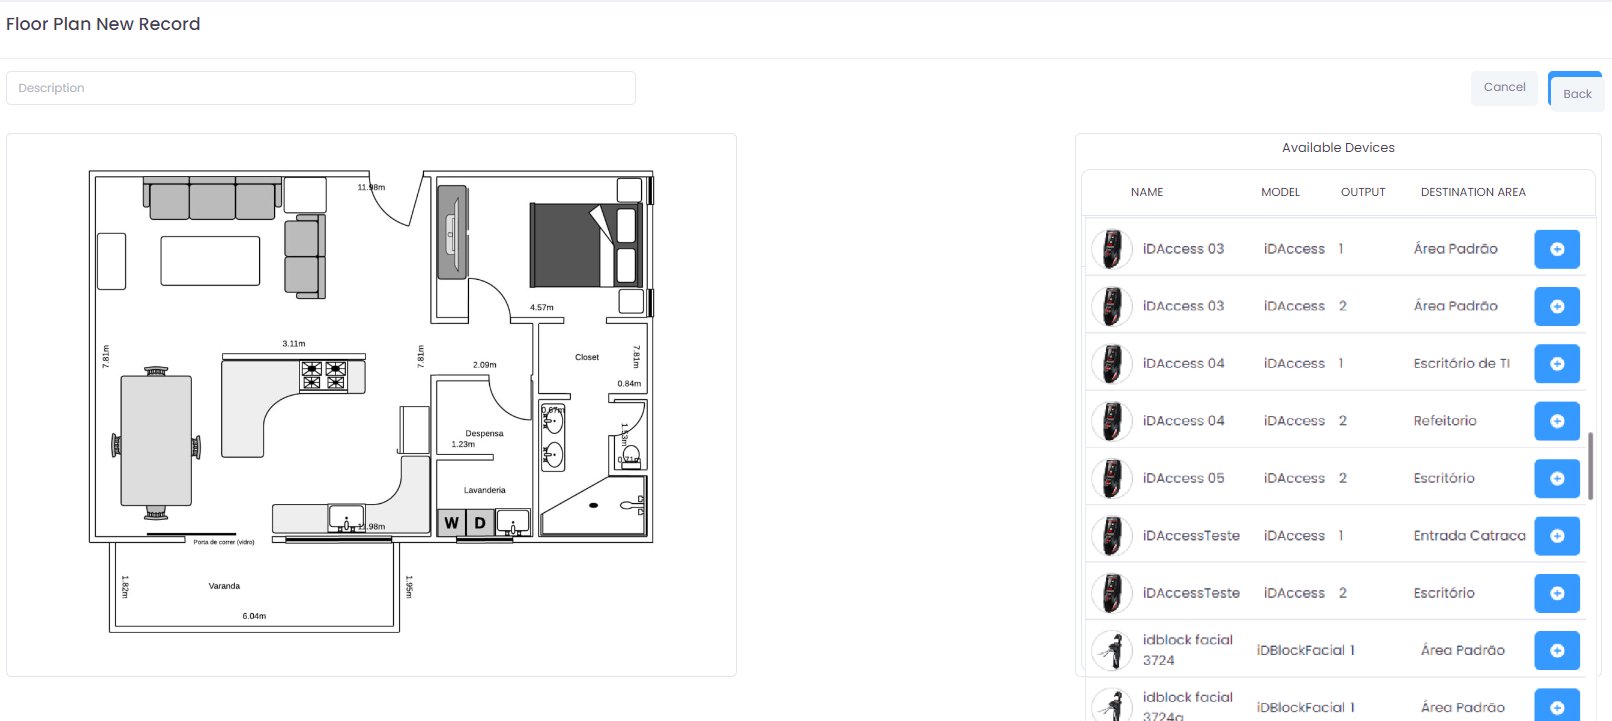
To place a device, simply select a device from the displayed list by clicking on the blue + button next to the desired device.
After selecting the device, an icon of the chosen device will appear on the floor plan, and you can freely move it, positioning it wherever you want.

To remove the device, simply click on the trash icon that appears next to the device icon when you hover over it.
Editing a Floor Plan
To edit an existing floor plan, click the Pencil icon corresponding to the record you want to modify.
You will be redirected to the Edit Screen, where you can make the desired modifications.
Saving a Floor Plan Record
After filling in all the information and selecting the desired configurations, click the Save button to confirm the registration or edits made.
If you wish to cancel the operation, click the Cancel button to return to the previous screen without saving the changes.
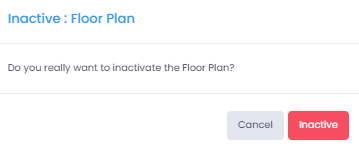
Deactivating a Floor Plan
Click the trash icon on the row of the record you want to deactivate. A dialog box will appear where you can confirm the deactivation or cancel.
Selecting the Number of Records Displayed
At the bottom of the screen, use the selector to choose how many records you want to view at a time. The options are: 10, 20, 50, and 100.
Viewing and Navigating Between Records
The bottom of the screen also shows the count of displayed records and the total number of registered records.
Use the pagination controls to navigate between the record pages. The navigation options include:
- <<and >> to go to the First or Last page.
- <and > to Advance or Recede one page.
- [1] [2] ... [N] page indicators to click and access directly.
