Accessing the People List Screen
To view the people registered in the system, access it via the side menu under the option: Enrollment > Users.
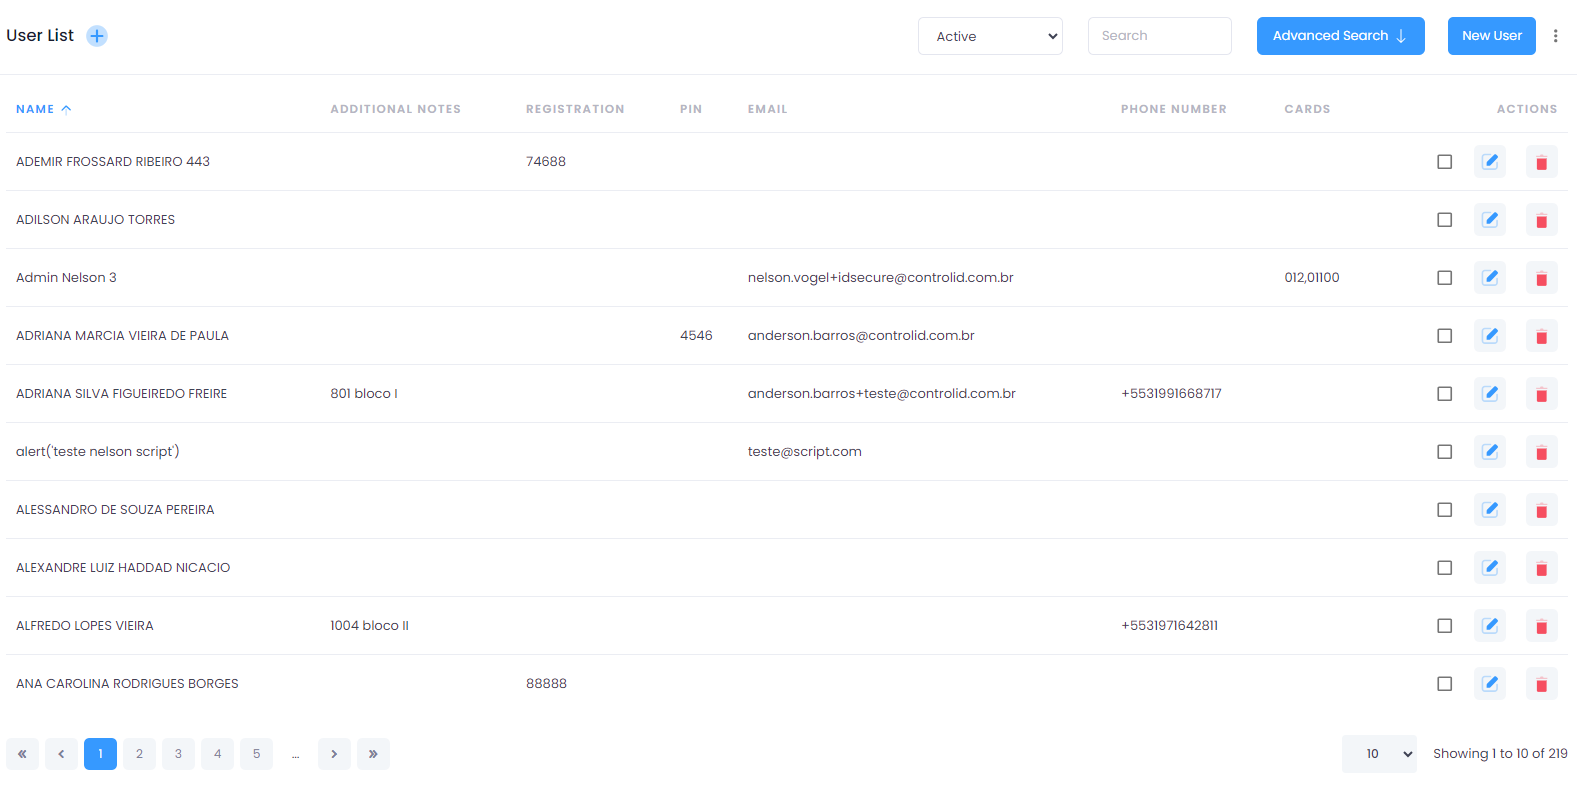
Filtering People
Use the Active filter located at the top of the screen to filter people. The available options are:
-
All: Shows all registered people.
-
Active: Lists only the people that are active.
-
Inactive: Displays the people that have been deactivated.
Use the Advanced Search button at the top of the screen to filter by specific characteristics. Clicking the button expands an advanced filters section on the screen.
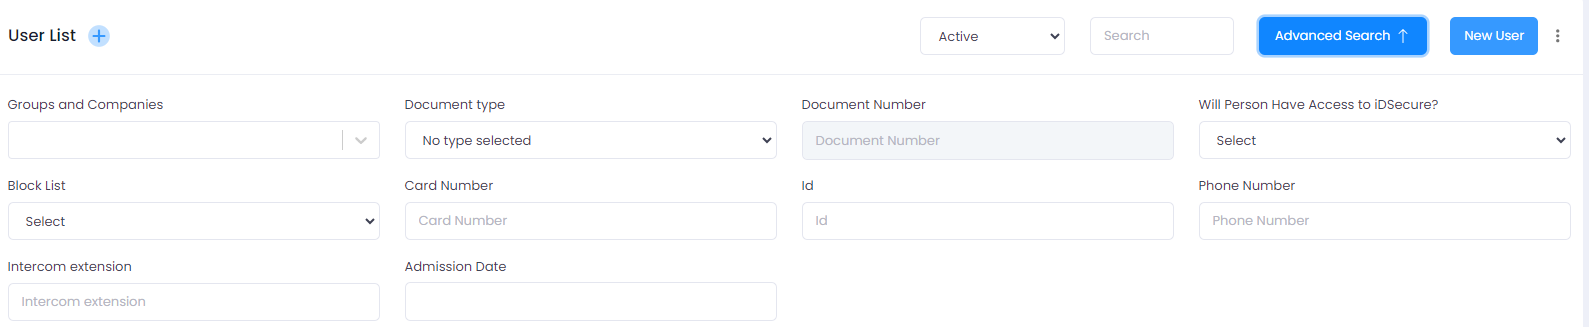
The available options are:
-
Groups and Companies: By choosing a group or company, you can view a list of people who belong to the selected group or are associated with the selected company.
-
Document Type: By selecting the desired document type, the "Document Number" field becomes available for input, allowing the display of people registered with that specific document type.
-
Document Number: Free text input field.
-
Will Person Have Access to iDSecure?: Checkbox that allows filtering of people with or without access to iDSecure.
-
Blacklist: Checkbox that allows filtering of people who are or are not on the blacklist.
-
Card Number: Free text input field that allows filtering of people by card number.
-
ID: Free text input field that allows filtering of people by ID number.
-
Phone Number: Free text input field that allows filtering of people by phone number.
-
Intercom Extension: Free text input field that allows filtering of people by intercom extension.
-
Admission Date: Date field that allows filtering of people by admission date.
After entering the desired information in the advanced search, click the Filter button to display the corresponding results in the people list. Use the Clear button to remove all filled filter data.
Searching People
In the Search field, type part of the name, email, or registration number of the person you want to find. The results matching your search will automatically be displayed in the list.
Adding a New Person
To add a new person, you can:
- Click the New User button.
- Or click the + (plus) icon located in the header of the screen.
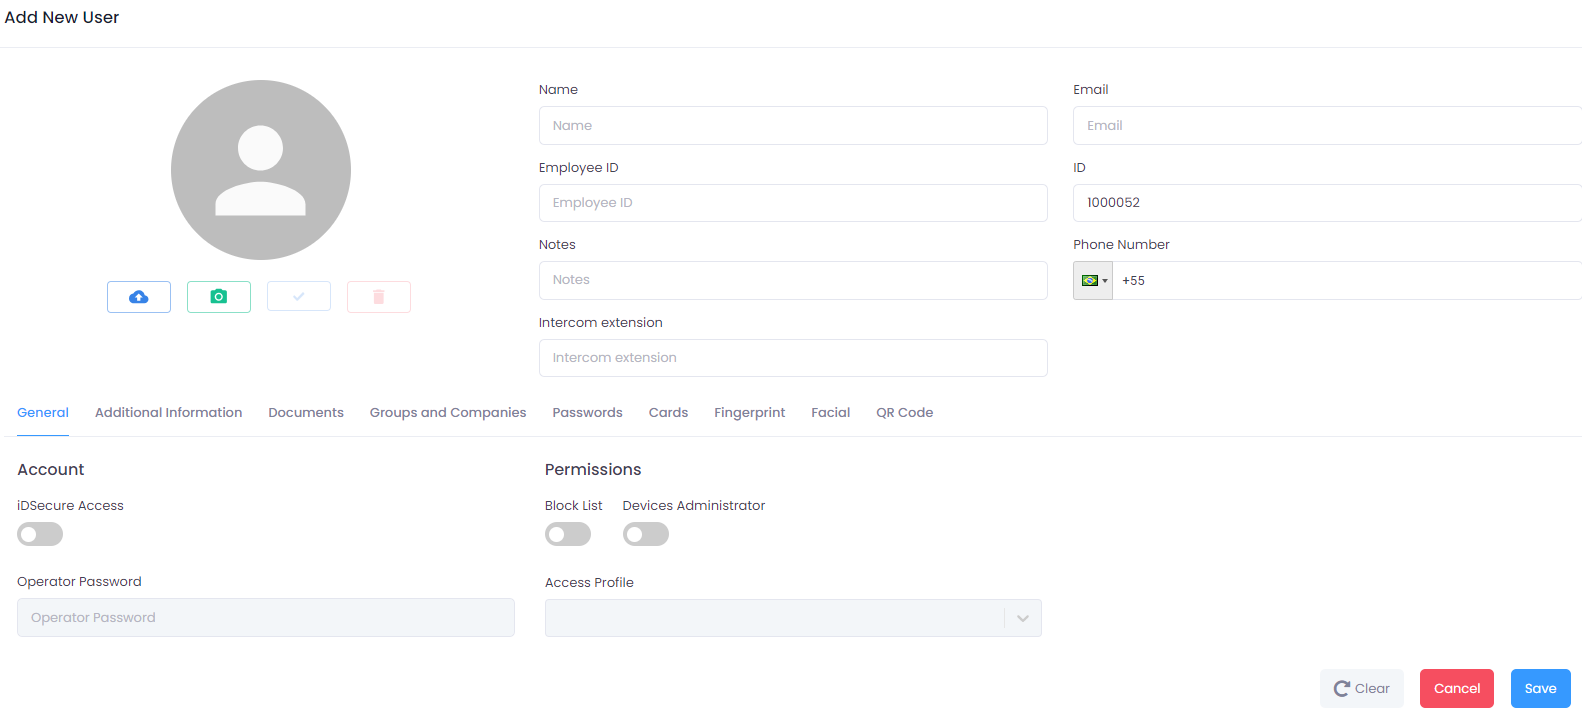
In the people registration form, in addition to filling out fields such as 'Name,' 'Email,' 'Registration Number,' 'Notes,' 'Mobile Number,' and 'Intercom Extension,' you can also add a photo directly from your device by clicking on the 'cloud' icon ![]() . Or, if you prefer, open your device's camera and take a new photo by clicking on the 'camera' icon
. Or, if you prefer, open your device's camera and take a new photo by clicking on the 'camera' icon ![]() .
.
In the people registration and editing form, there are also nine tabs that allow the inclusion of additional information and specific configurations for the person. These tabs are:
- General:

The general tab contains some components that allow configuration for the registered person. See below:
- Toggle: Access to iDSecure By activating this button, the user is granted access to iDSecure, allowing them to access the platform with an email and password. When activated, the "iDSecure Access Password" field becomes available and mandatory. Additionally, the email field and "Access Profile" also become mandatory.
- Free text input field: iDSecure Access Password Requires a minimum of 5 digits and is only available for input after the access toggle is activated.
- Toggle: Blacklist When activated, adds this person to the blacklist.
- Toggle: Device Administrator When activated, grants this person permission to manage devices.
- Combo box: Access Profile Allows the selection of one or more access profiles for the person. This becomes mandatory when the person has access to iDSecure.
Note: For additional information about Access Profile and Devices, refer to the corresponding documentation.
- Additional Information:
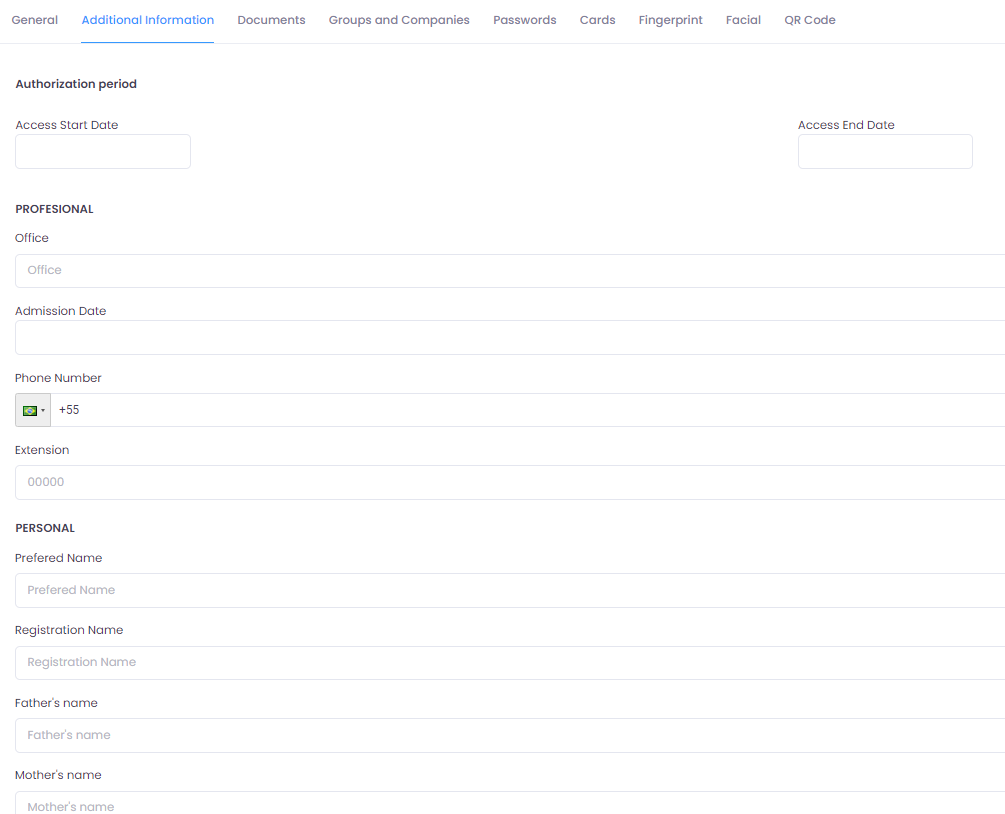
The additional information tab is intended for filling in additional personal details of the registered person. It includes data such as occupation, parents' names, date of birth, and more. Additionally, it is possible to provide information on the person's access period and hire date.
- Documents:
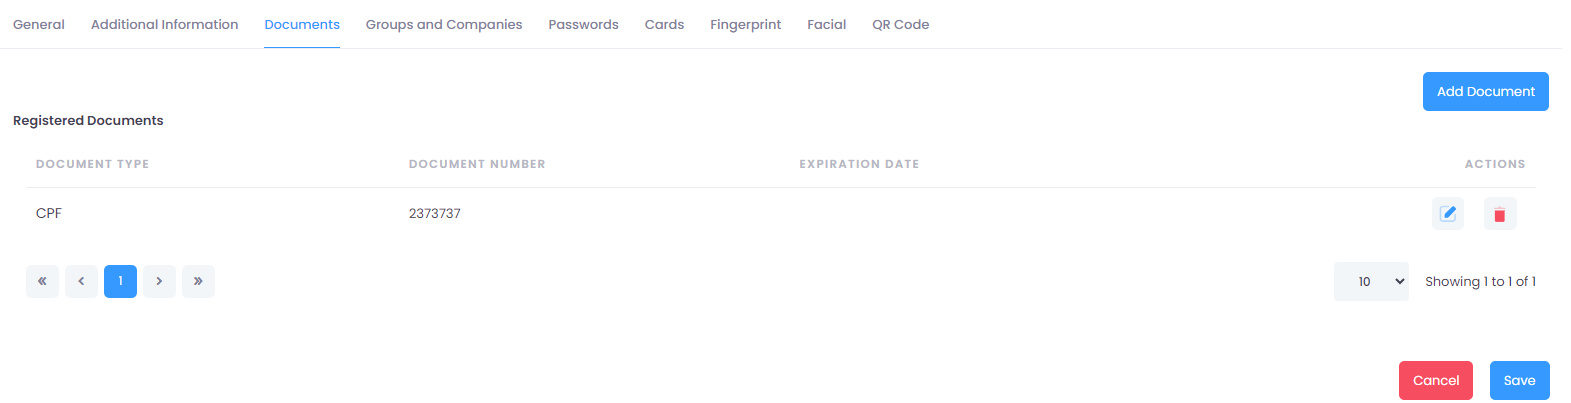
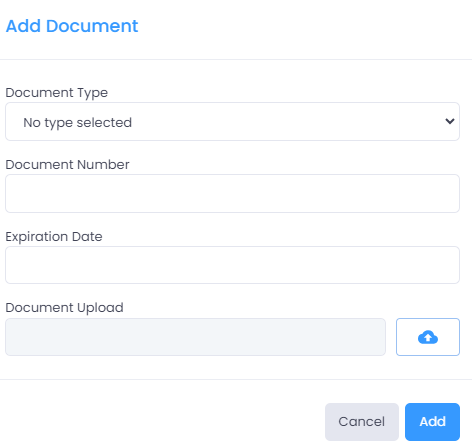
Allows the registration of documents linked to the person. By clicking on the Add Document button, a form opens in the system, allowing the selection of the document type, filling in the number, and, when necessary according to the system's document type settings, the expiration date. Additionally, it is possible to attach the document through the upload field. To complete the addition, simply click the Add button; to cancel, click the Cancel button.
After adding a document, it will be displayed in the person's document list. To edit or delete the document, click the corresponding icons of pencil for editing or trash can for deletion, as desired.
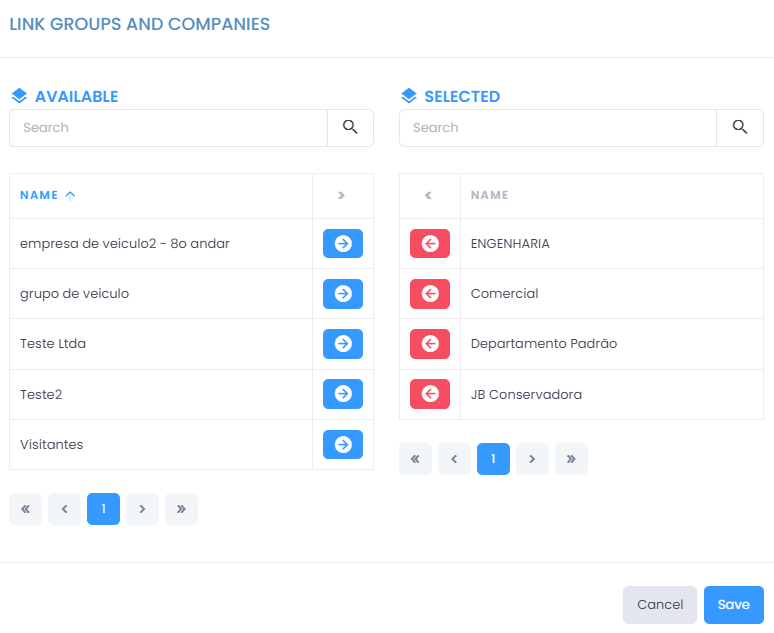
- Groups and Companies:
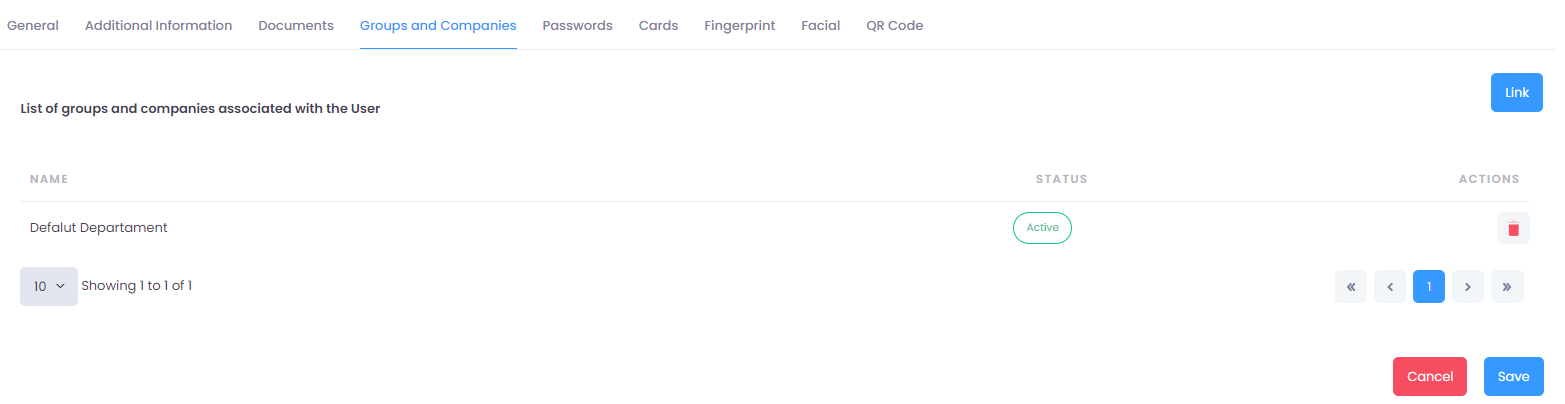
Facilitates the association of the person with groups or companies registered in the system. By clicking on the Link button, a list of groups and companies will be displayed on the screen.

To associate a person with a group or company, simply click on the blue arrow icon corresponding to the desired group or company. After clicking, the selected group or company will be transferred to the list on the right, indicating that they have been chosen. To remove it from the list, simply click on the red arrow icon, returning the selected company to the available list. After making the desired selections, click the Save button to confirm or the Cancel button to cancel the operation.
After associating one or more groups or companies, they will be displayed in the Groups and Companies list to which the person is linked. To delete these associations, click the trash can icon.
Note: For additional information about Groups and Companies, refer to the corresponding documentation.
- Passwords:
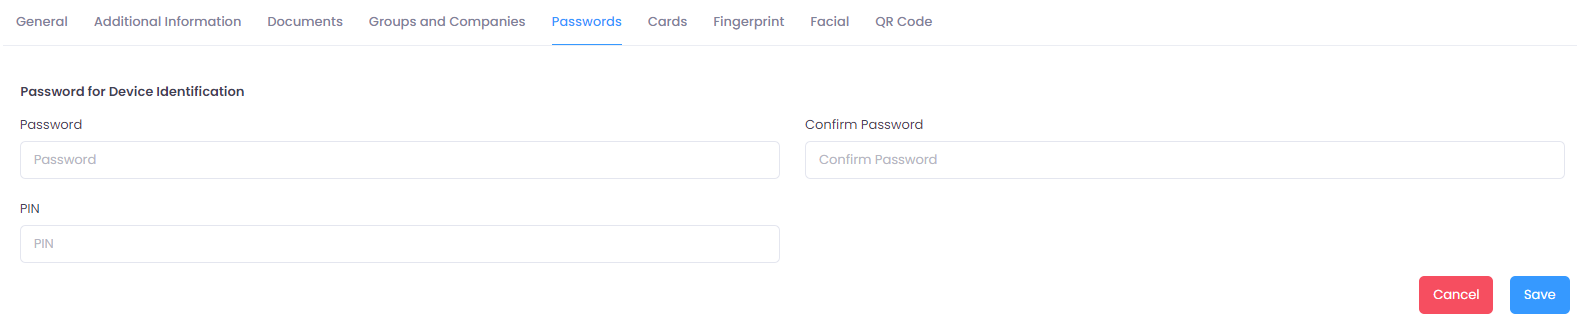
Allows the registration of a password and PIN for the person's identification on the devices.
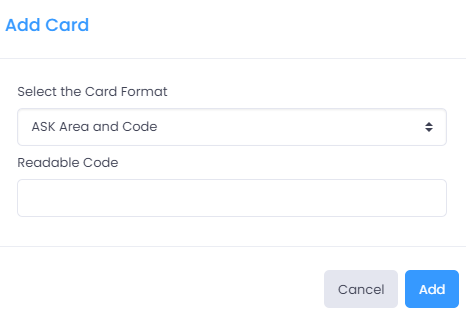
- Cards:

Allows the linking of a card to a person in three ways:
- Add a Card: By clicking on Add Card, you can manually register a card. A form will allow you to choose the card type (Ask Area and Code, Ask Decimal, and Mifare Decimal) and fill in the Card's Readable Code, according to the selected type. Click Save to add the card to the person's list or Cancel to abort the operation.
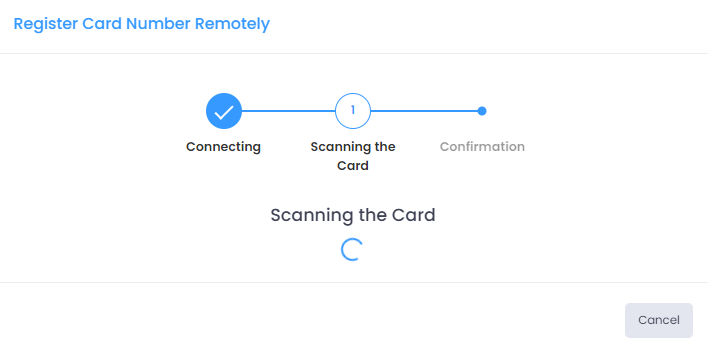
- Remote Registration: By clicking on
Remote Card Number Capture, you can register a card using a device. Select a device and clickStart.
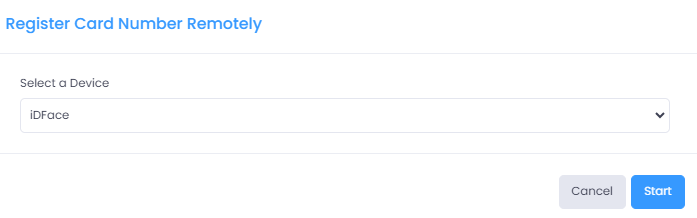
Next, the card scanning and confirmation process will begin.
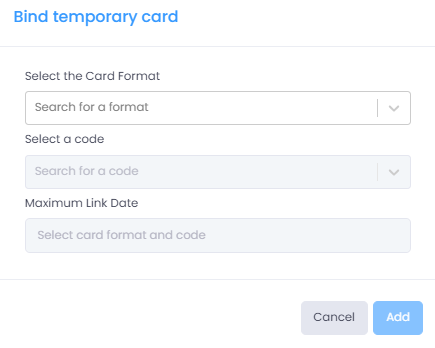
- Temporary Card: The
Temporary Cardoption allows you to link a temporary card already registered in the system. Clicking this button displays a form where you can choose the card type and select from the cards available in the system of that type. Additionally, it is necessary to provide a maximum linking date.
Note: For additional information about Temporary Cards, refer to the corresponding documentation.
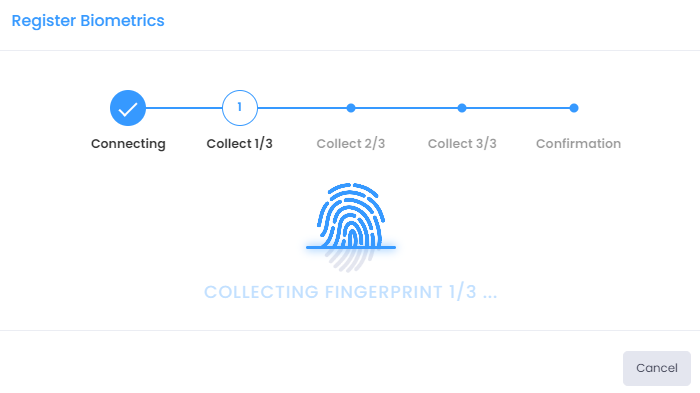
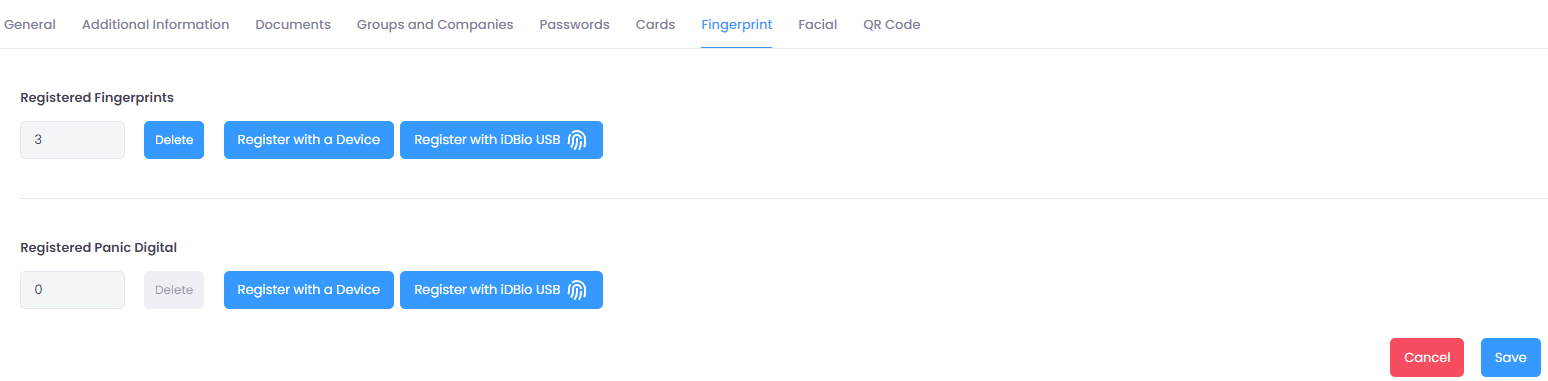
- Fingerprints:

Facilitates the registration of fingerprints through a device or iDBio USB. Additionally, it is possible to register the "Panic Fingerprint."
- To register using a device, simply click the Register with a Device button, choose a device from the list, and click Start. The fingerprint collection operation will automatically start, and you just need to follow the instructions on the device and on the screen.
Note: For additional information about Devices, refer to the corresponding documentation.
- To register using iDBio, the biometric reader must be installed. Click the
Register with iDBio USBbutton. If necessary, click onInstallation Driverand follow the provided instructions. If the reader is already installed, follow the on-screen instructions to complete the fingerprint registration.
To remove a registered fingerprint, click the Delete button and confirm the operation. Note that this action deletes all fingerprints linked to that record.
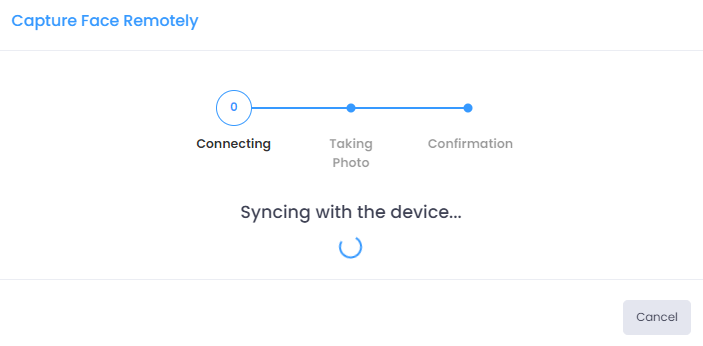
- Facial Recognition:

Allows for remote facial registration. Simply click the Face Capture button, choose the device from those available, and then click the Start button. The facial capture process via the device will begin.
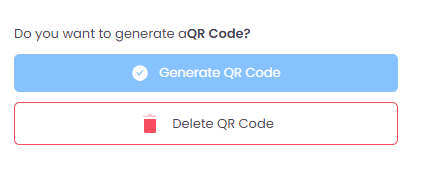
- QR Code:

Facilitates the generation of a QR code that can be sent by email or printed to be used as an access key in locations with QR code reading devices. To generate it, simply click the Generate QR Code button, and the QR Code will be available to share via email by clicking on Share via email or for printing by clicking on Print.

You can delete a generated QR code at any time by clicking the Delete QR Code button.
Tip: In the settings screen, you can insert a standard personalized text for sending QR codes. For more information, refer to the corresponding documentation.
Editing a Person
To edit an existing person, click the Pencil icon corresponding to the record you want to modify.
You will be redirected to the Edit Screen, where you can modify the necessary information.

Saving a Person's Record
After filling in all the information and selecting the desired configurations, click the Save button to confirm the registration or edits made.
If you wish to cancel the operation, click the Cancel button to return to the previous screen without saving the changes.
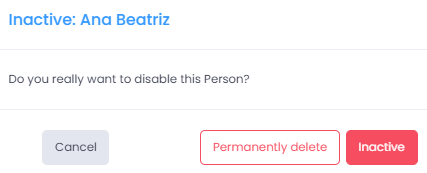
Deactivating or Deleting a Person
Click the Trash icon on the row of the record you want to deactivate or delete. A dialog box will appear with two options:
-
Inactive: Deactivates the selected person, who will no longer be displayed in the active list but will remain in the database.
-
Permanently delete: Performs a 'fake delete,' marking the record as deleted in the database without physically removing it.
Activating a Person
Activating an inactive person is a simple process. First, filter by Inactive. This will display the list of people who are currently inactive.
Locate the record you want to activate and click the ✔️ icon to activate it.
A dialog box will appear to confirm or cancel the operation.
Selecting the Number of Records Displayed
At the bottom of the screen, use the selector to choose how many records you want to view at a time. The options are: 10, 20, 50, and 100.
Viewing and Navigating Between Records
The bottom of the screen also shows the count of displayed records and the total number of registered records.
Use the pagination controls to navigate between the record pages. The navigation options include:
- <<and >> to go to the First or Last page.
- <and > to Advance or Recede one page.
- [1] [2] ... [N] page indicators to click and access directly.
