User Manual: Control iD's iDSecure Cloud
Group Management
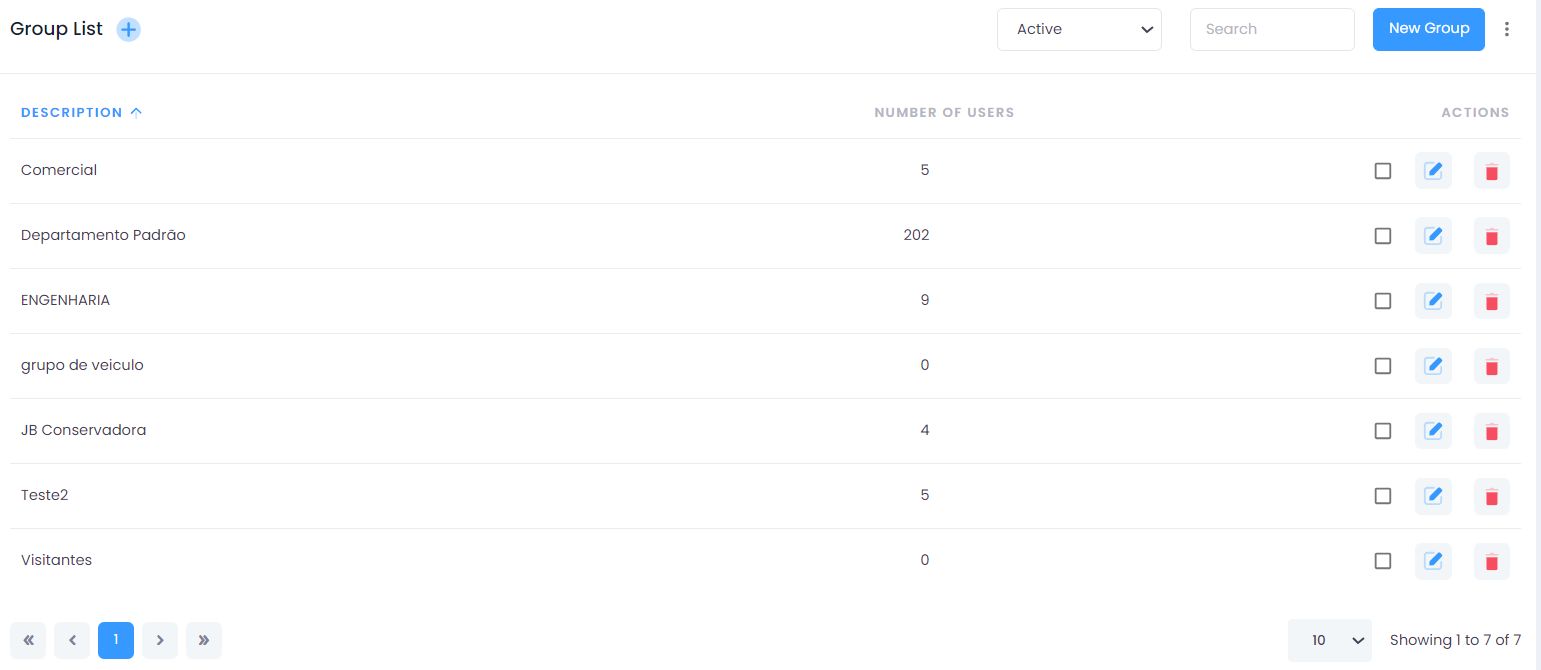
Group List
On the Group List screen, you can view and manage user groups within the system.
Fields and Features
- Description: Lists the names of the registered groups.
- Number of People: Indicates how many people are associated with each group.
- Actions: A set of icons that allow you to edit (pencil icon) or delete/deactivate (trash icon) a group.
- Active Filters: Allows filtering of groups that are active, inactive, or all.
- Search: A search field to locate a specific group by searching for its description.
- New Group or + Button: Button to create a new group.
- Pagination Controls: Navigate between the pages of the group list. With the pagination controls, you can directly access a specific page of records (according to the number of records selected), go directly to the beginning/end of the records, or advance/return page by page.
- Record Count: Next to the record quantity selector, the page's records and the total number of records in the database are displayed.
Filtering Groups
Use the Active filter located at the top of the screen to filter groups. The available options are:
-
All: Shows all registered groups.
-
Active: Lists only the groups that are active.
-
Inactive: Displays the groups that have been deactivated.
Searching Groups
In the Search field, type part of the group's description that you want to find. The results matching your search will automatically be displayed in the list.
Creating a New Group
- Click the
New Groupbutton or the+button. - Fill in the Description field with the group's name.
- Optional: Activate the Ignore Anti-Duplicate Entry toggle if necessary.
- Click
Saveto add the new group.

Editing a Group
- Click the pencil icon in the actions column of an existing group.
- Modify the Description as necessary.
- Adjust the Ignore Anti-Duplicate Entry toggle as needed.
- Click
Saveto update the group's details.
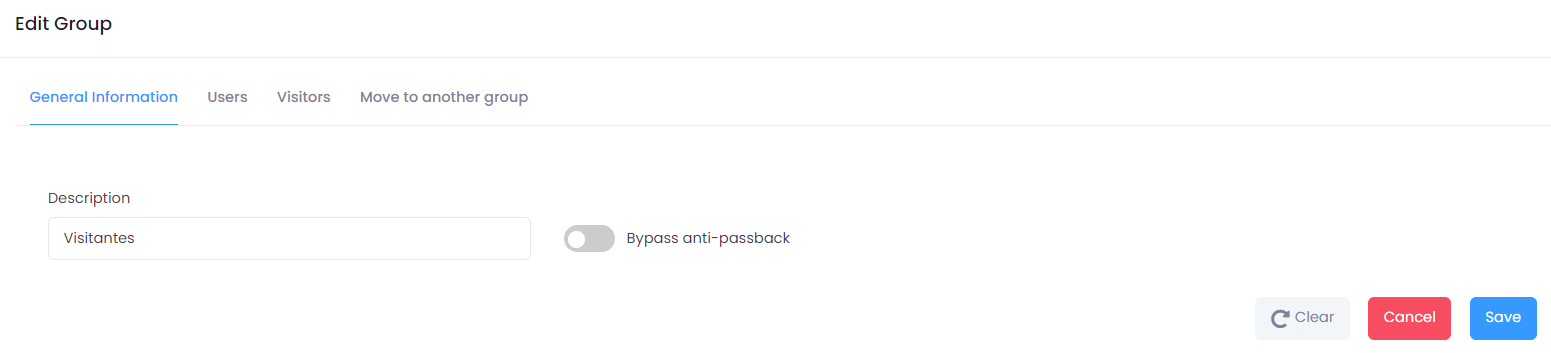
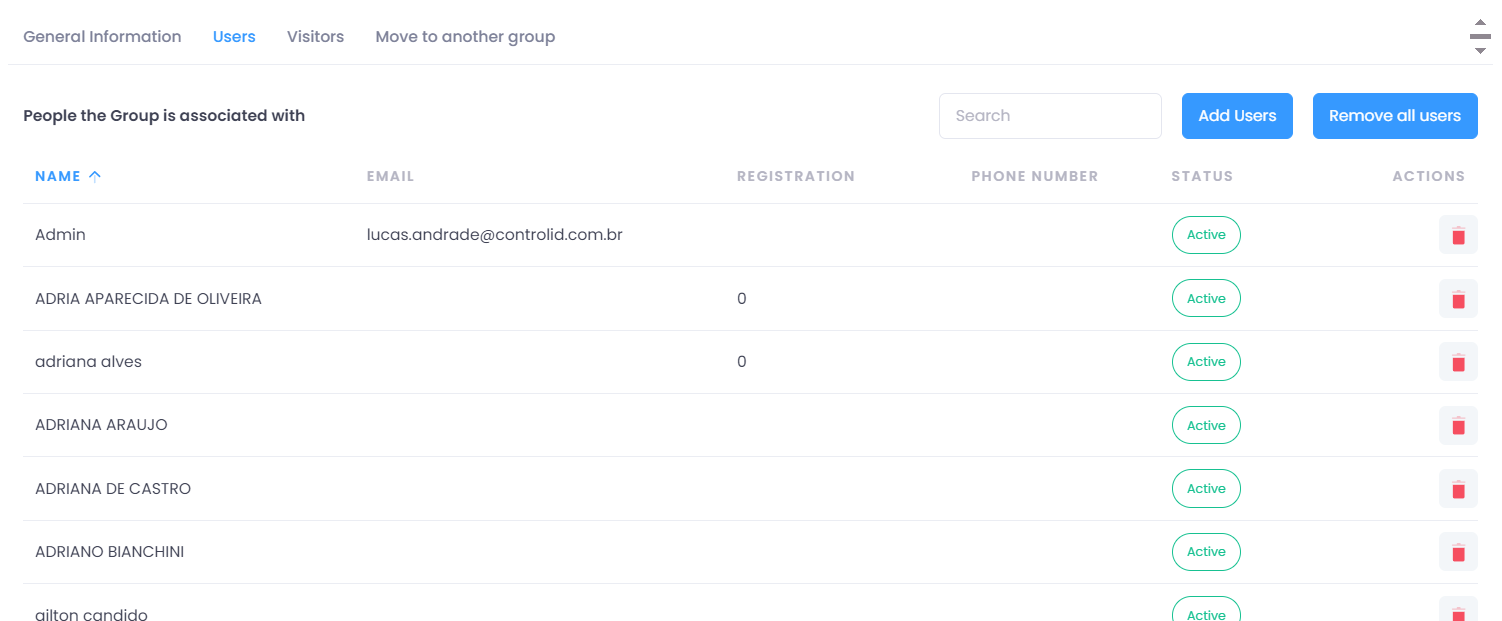
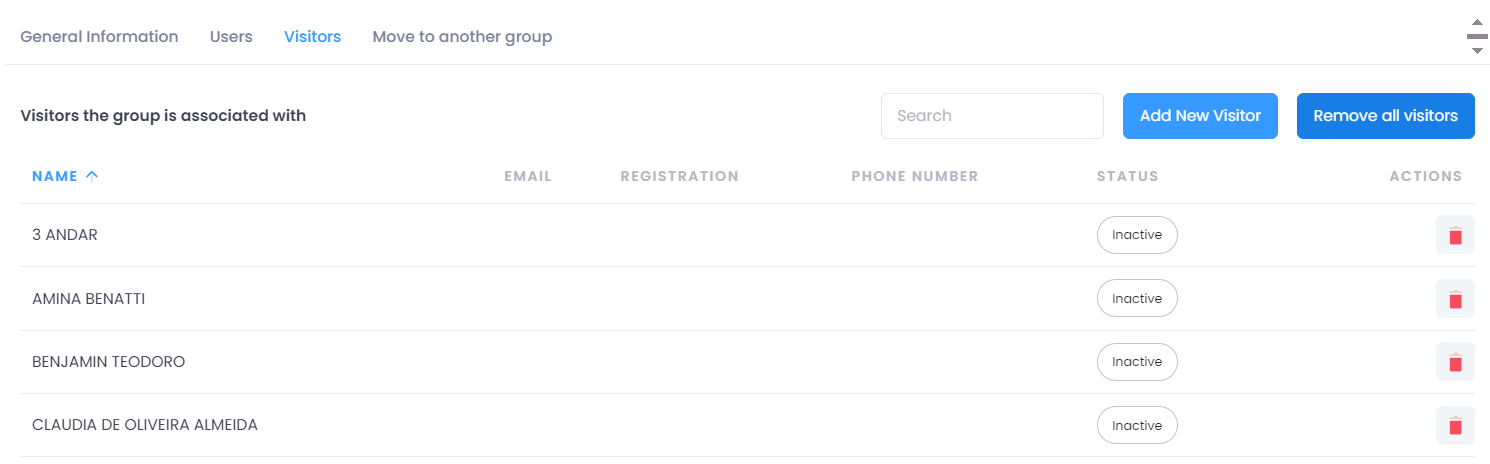
During the editing of a group, you can navigate through the "People" and "Visitors" tabs to add users to the respective group.
- Adding People:
To add people to a group during the editing of the group's record, click on the "People" tab and then click the
Add Usersbutton.

The list of people will be displayed on the screen. You can click the All users toggle to select everyone at once or choose individually by checking the box next to each person's name. Additionally, you can search for a person by name using the Search field. After making the desired selections, click the Save button to add your selection to the group or click Cancel to abort the operation.
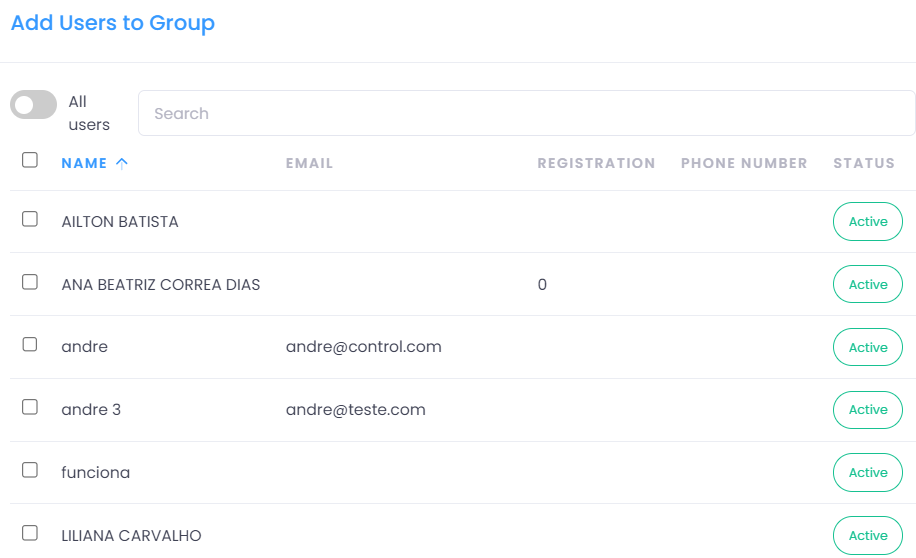
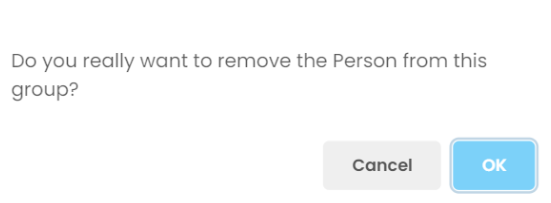
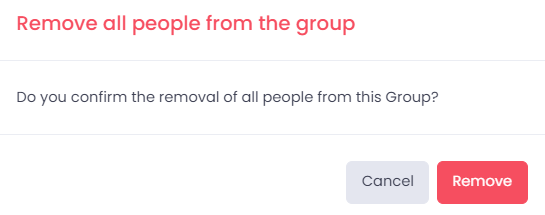
The added people will be displayed in the list of people associated with the group. To remove a person from the group, simply click the trash icon next to their name. If you wish to remove all people at once, click the Remove all users button located next to the add button and confirm the operation.
- Adding Visitors:
To add visitors to a group during the editing of the group's record, click on the "Visitors" tab and then click the
Add New Visitorbutton.

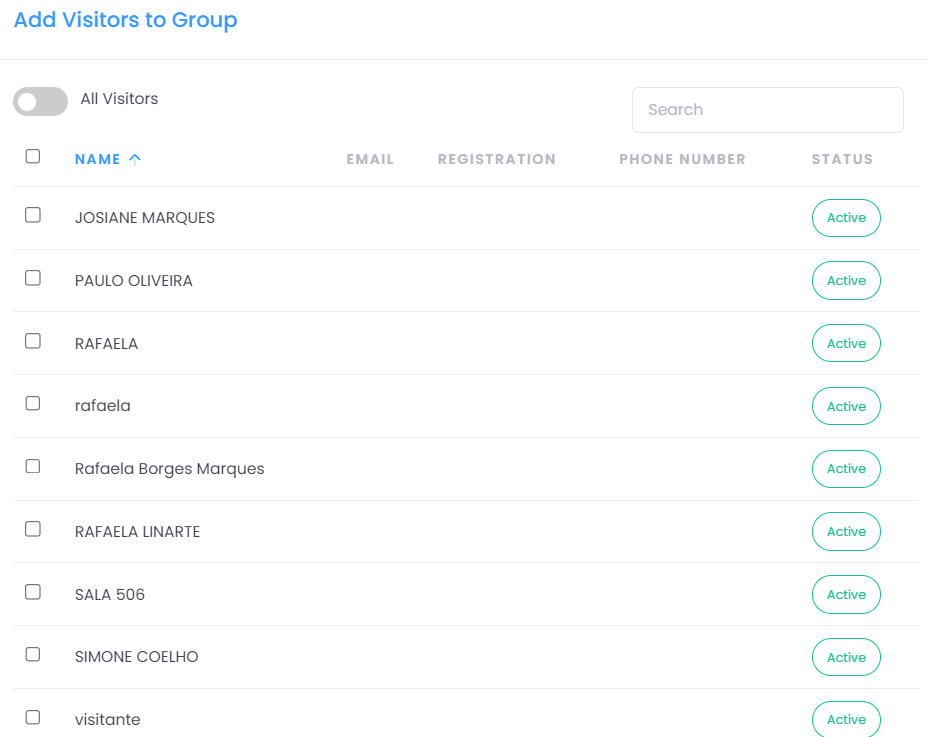
The list of visitors will be displayed on the screen. You can click the All visitors toggle to select everyone at once or choose individually by checking the box next to each visitor's name. Additionally, you can search for a visitor by name using the Search field. After making the desired selections, click the Save button to add your selection to the group or click Cancel to abort the operation.
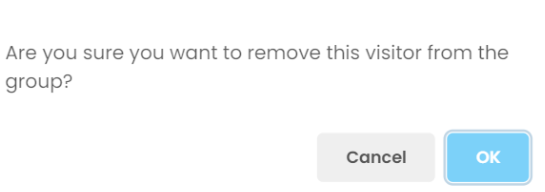
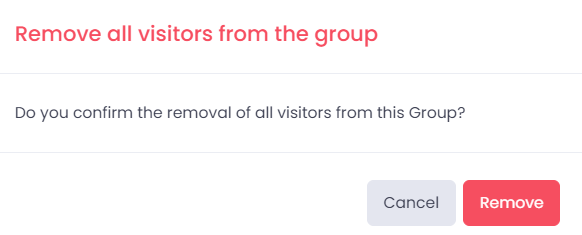
The added visitors will be displayed in the list of visitors associated with the group. To remove a visitor from the group, simply click the trash icon next to their name. If you wish to remove all visitors at once, click the Remove all visitors button located next to the add button and confirm the operation.
Deleting or Deactivating a Group
- Click the trash icon in the actions column of a group.
- In the dialog box that appears, you will have the options:
Cancelto abort the action.Permanently deleteto remove the group permanently.Inactiveto temporarily deactivate the group.

Note: The delete action is a fake delete, meaning the group will not be removed from the database, only marked as deleted.
Activating a Group
Activating an inactive record is a simple process. First, filter by Inactive. This will display the list of groups that are currently inactive.
Locate the record you want to activate and click the ✔️ icon to activate it.
A dialog box will appear to confirm or cancel the operation.
Selecting the Number of Records Displayed
At the bottom of the screen, use the selector to choose how many records you want to view at a time. The options are: 10, 20, 50, and 100.
Viewing and Navigating Between Records
The bottom of the screen also shows the count of displayed records and the total number of registered records.
Use the pagination controls to navigate between the record pages. The navigation options include:
- <<and >> to go to the First or Last page.
- <and > to Advance or Recede one page.
- [1] [2] ... [N] page indicators to click and access directly.
