Accessing the Scheduled Unlock Screen
To configure scheduled open access periods for groups of people or visitors, navigate via the side menu: Access > Scheduled Unlock.
Overview
Scheduled Unlock allows you to configure specific periods during which certain people, visitors, or groups will have access granted to areas or devices based on a programmed schedule. It is different from Scheduled Inactivation (which blocks people for a period): Scheduled Unlock grants temporary access for special situations or for those who would not normally have it.
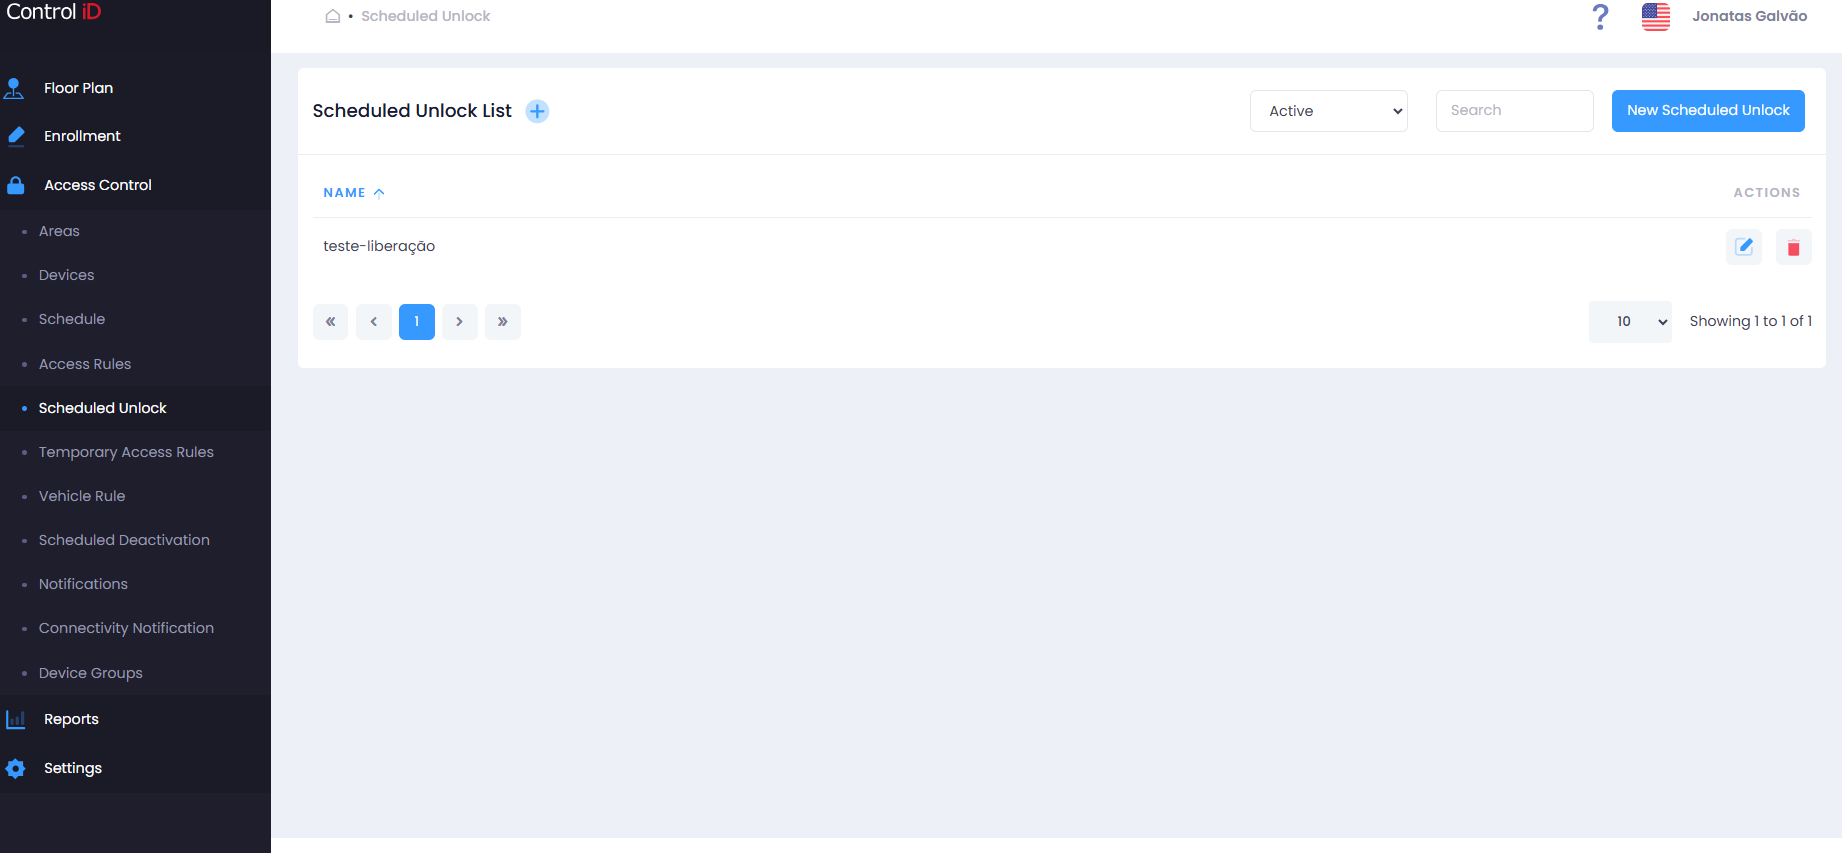
Filtering Scheduled Unlocks
Use the status filter at the top of the screen:
- All: Shows all unlocks (active and inactive).
- Active: Lists only active unlocks.
- Inactive: Shows only deactivated unlocks.
Use the Search field to locate an unlock by name.
Search and Display
The table displays:
- Name: Scheduled Unlock identifier.
- Status: Active or Inactive.
- Actions: Options to edit, deactivate/activate, and delete.
Adding a Scheduled Unlock
To create a new unlock, click New Scheduled Unlock in the screen header. Registration is performed through a wizard with 4 steps:
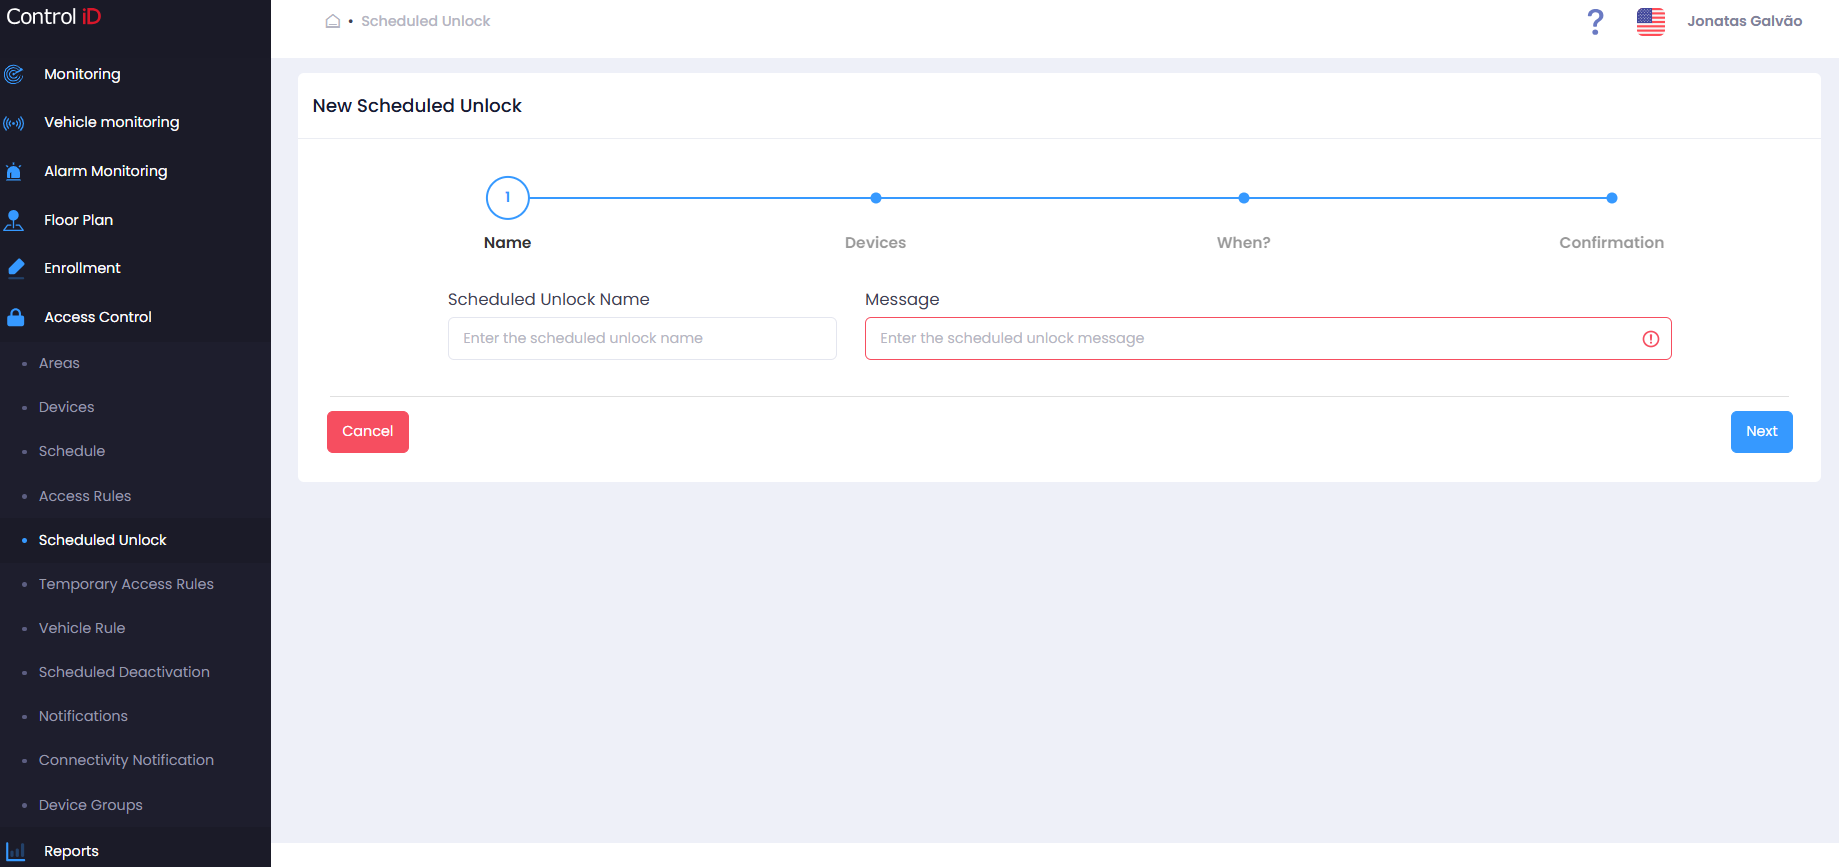
Step 1 — Name
- Scheduled Unlock Name: Enter a descriptive name to identify the unlock (required, between 3 and 50 characters).
- Message: Optional field for notes or instructions related to the unlock.
Click Next to continue.
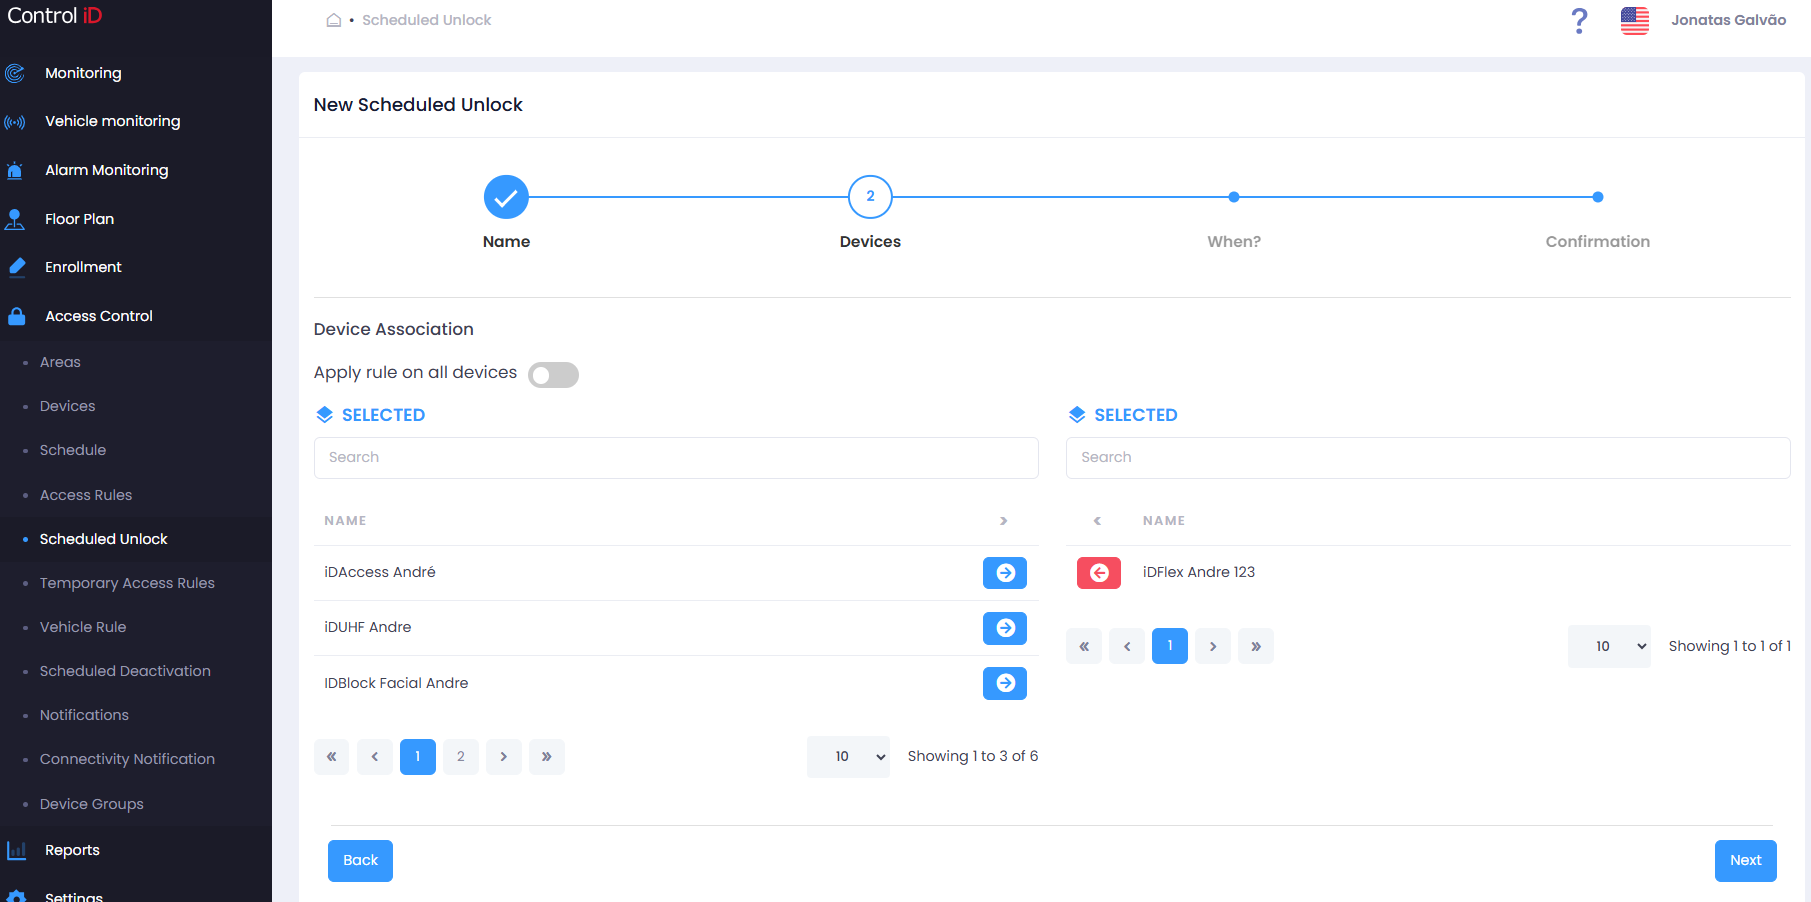
Step 2 — Devices
Select the devices on which access will be granted during the scheduled period. Move the desired devices to the selected list.
Click Next to continue.
Step 3 — Schedules
Define the unlock schedule:
- Schedules: Select one or more schedules pre-registered under Access > Schedules.
- Start / End date and time: Delimits the validity period of the unlock.
Click Next to continue.
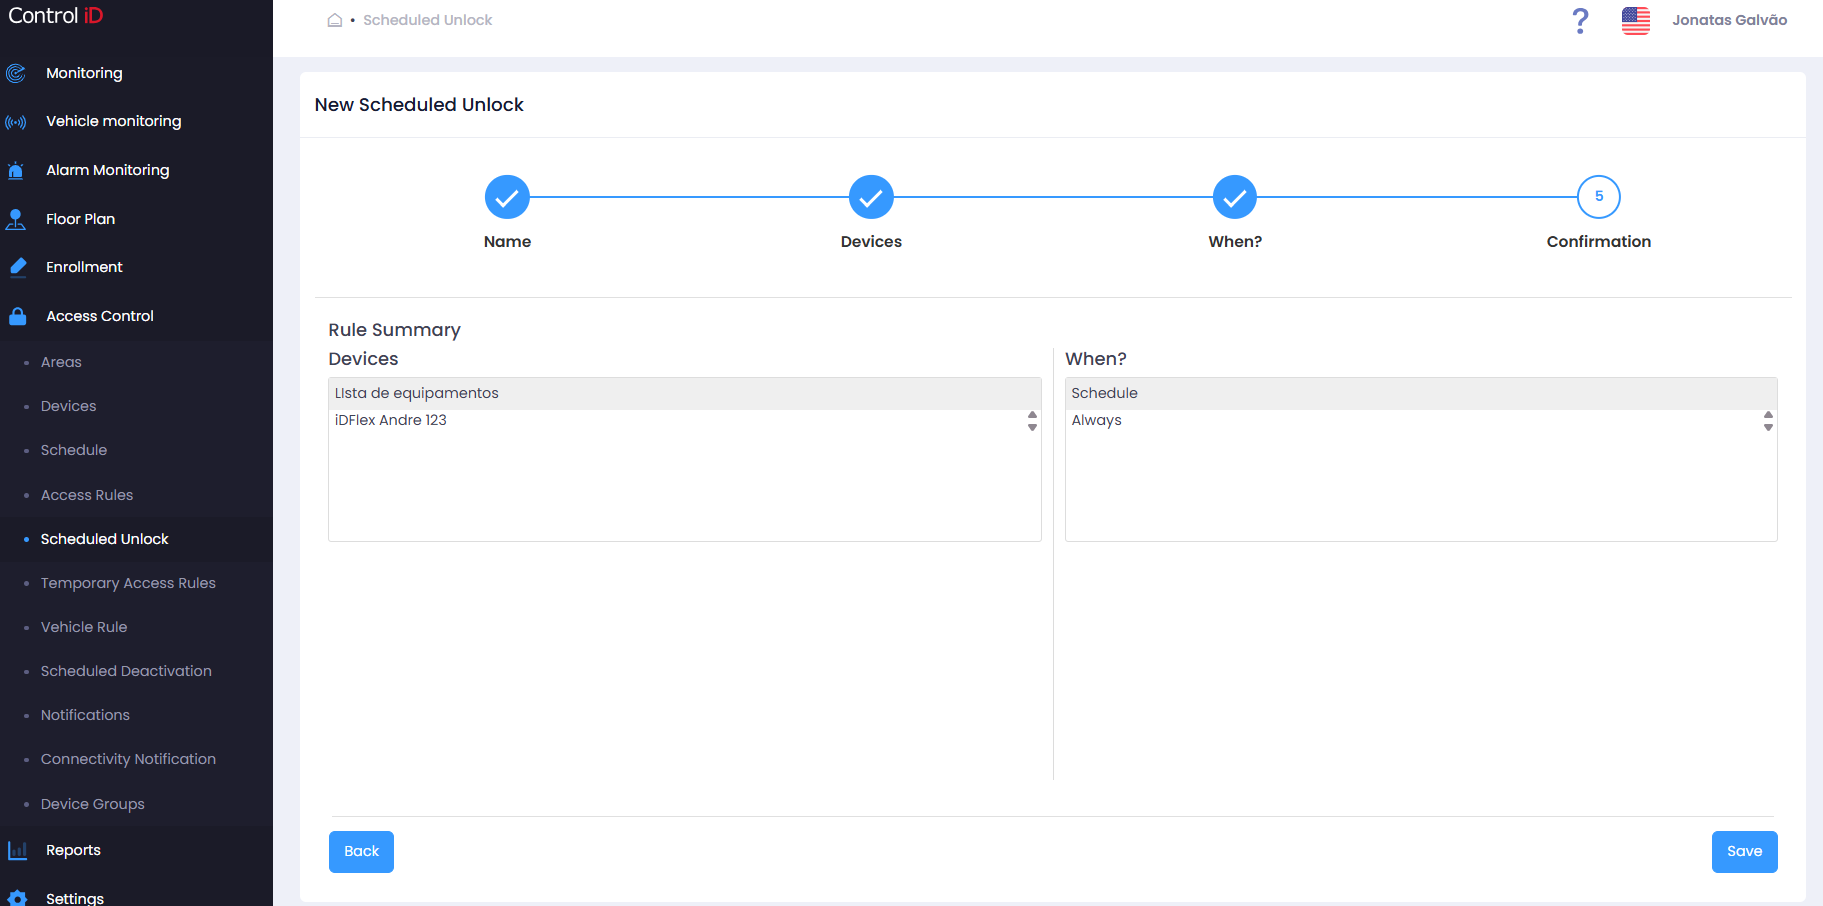
Step 4 — Confirmation
Review the summary of all defined settings. Click Save to confirm the unlock registration.
Editing a Scheduled Unlock
To edit an existing unlock, click the edit icon (pencil) on the corresponding row. The same creation wizard will open with the current settings. After making changes, click Save.
Removing a Scheduled Unlock
- Click the delete icon (trash) to deactivate the unlock. It will stop granting access but remains in the system.
- To reactivate, click the reactivation icon.
Note: Deactivating a Scheduled Unlock will immediately stop the programmed accesses on synchronized devices.