Accessing the Custom Fields Screen
To manage additional registration fields for people and visitors, navigate via the side menu: Records > Custom Fields.
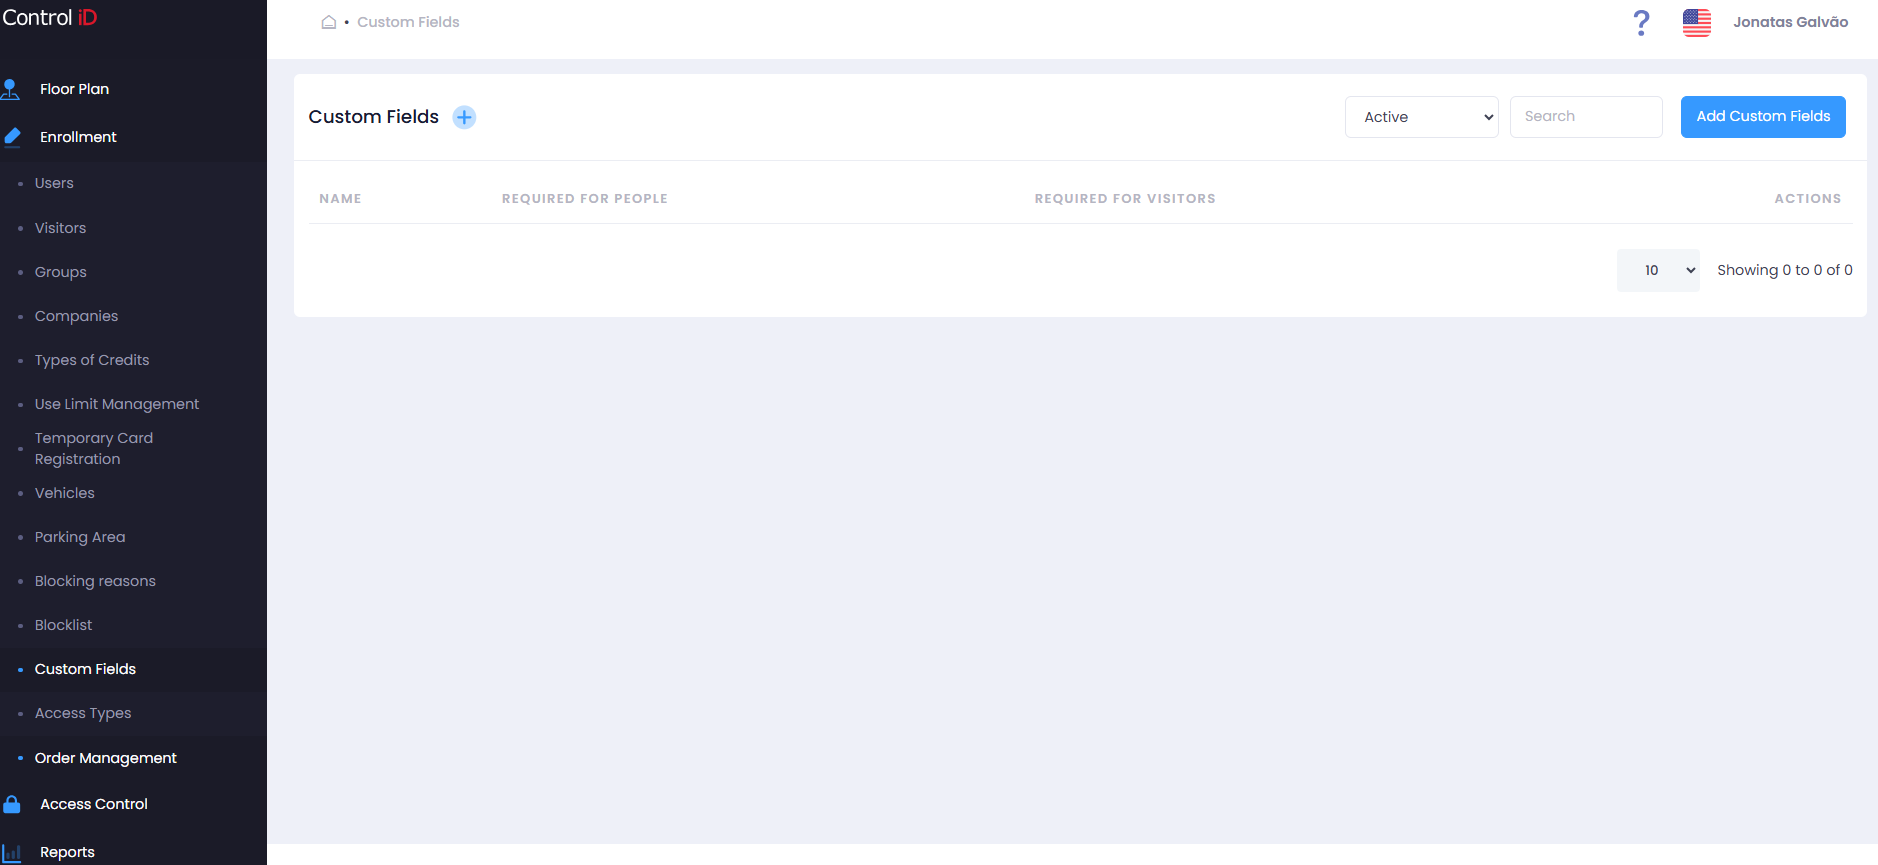
Filtering Custom Fields
Use the status filter at the top of the screen to limit the list:
- All: Shows all fields (active and inactive).
- Active: Lists only active fields.
- Inactive: Shows only deactivated fields.
Use the Search field to locate a field by name. Results update automatically.
Search and Display
The table displays the following data for each custom field:
- Name: Field identifier.
- Required for People: Indicates whether completion is required when registering a person.
- Required for Visitors: Indicates whether completion is required when registering a visitor.
- Actions: Options to edit, deactivate/activate, and delete the field.
Adding a Custom Field
To add a new custom field, click Add Custom Field in the screen header.
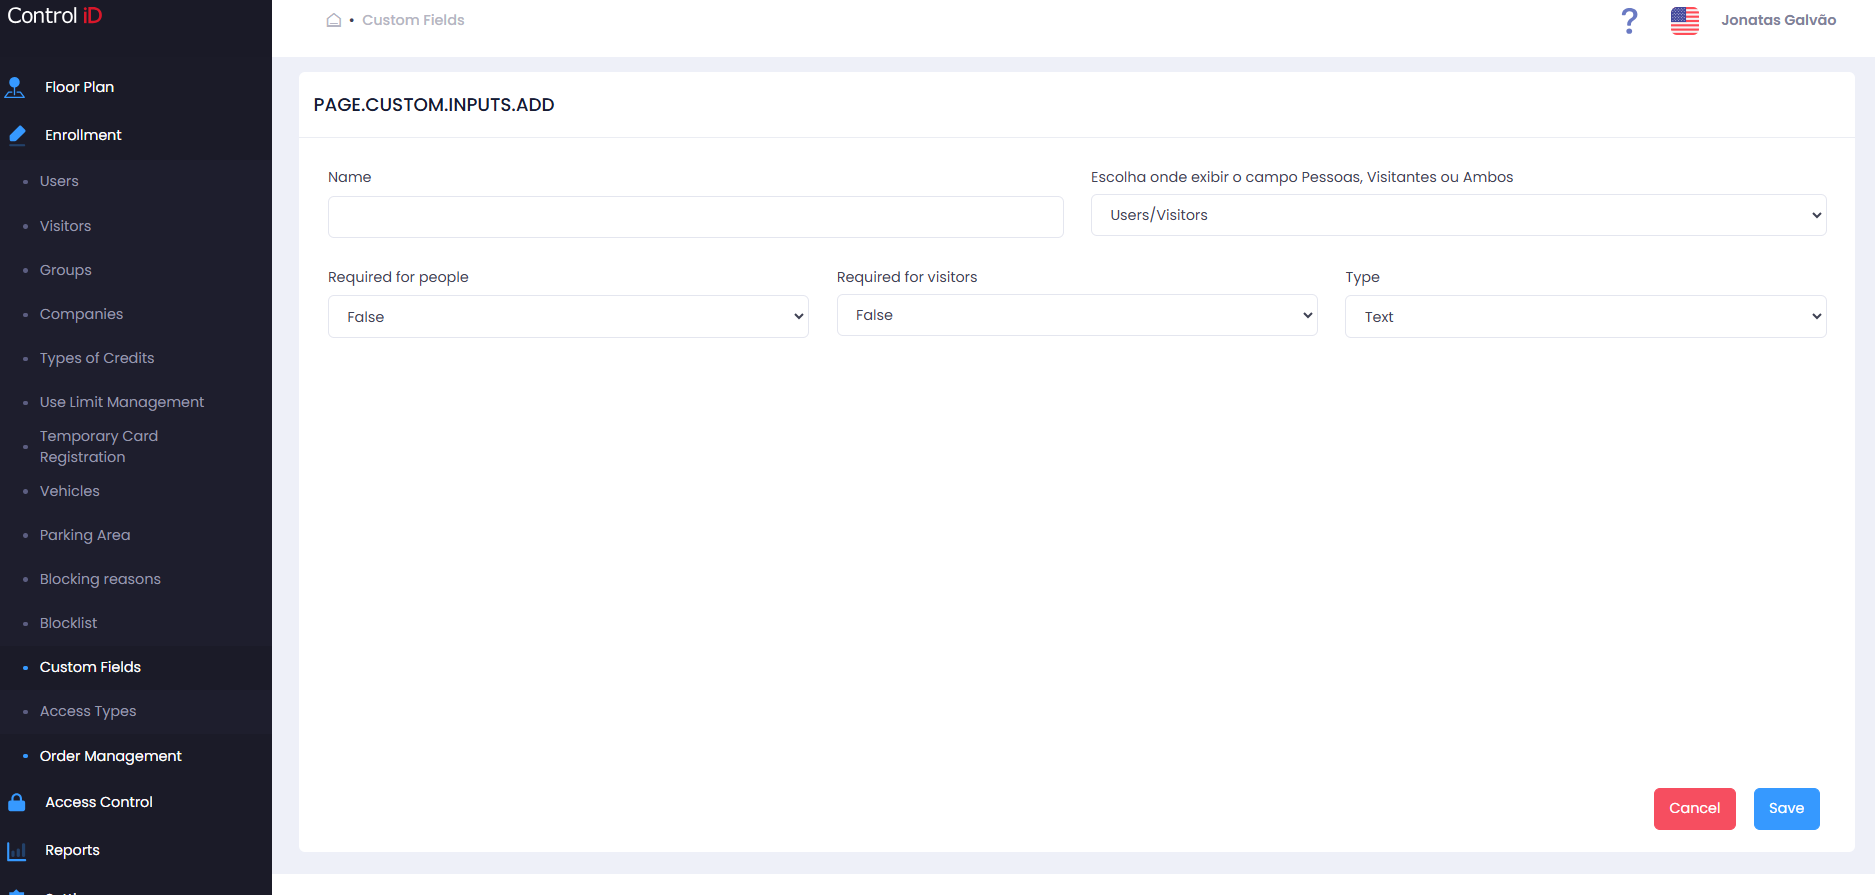
Fill in the form fields:
- Name: Enter the name of the field that will appear on registration forms.
- Target: Select where the field will appear:
- People: The field appears only on the person registration form.
- Visitors: The field appears only on the visitor registration form.
- Both: The field appears on both registration forms.
- Required for People: Define whether completing this field is required when registering a person.
- Required for Visitors: Define whether completing this field is required when registering a visitor.
- Field Type: Select the type of data the field accepts:
- Text: Accepts any free text.
- Numeric: Accepts only numeric values.
- Alphanumeric: Accepts letters and numbers.
Click Save to confirm the registration.
Editing a Custom Field
To edit an existing field, click the edit icon (pencil) on the corresponding row. The edit form is identical to the creation form. After making changes, click Save.
Note: Changing the type or required status of a custom field may impact existing registrations that use this field.
Removing a Custom Field
To deactivate or remove a custom field:
- Click the delete icon (trash) to deactivate the field (it will no longer appear on forms, but existing data is preserved).
- To activate an inactive field, click the reactivation icon.
Confirm the action in the dialog that appears.
Note: A custom field that already has data associated with existing registrations cannot be permanently deleted.